Updating Content on a WordPress Website with the Avada Theme: A Comprehensive Guide
![]() Updating content on your WordPress website using the Avada theme is an essential task to keep your site fresh, engaging, and relevant to your audience. Whether you’re posting the latest news, updating product information, or refreshing your blog posts, the Avada theme, known for its flexibility and user-friendly interface, makes these tasks straightforward. This guide will walk you through the step-by-step process of updating content on your WordPress site with Avada, ensuring your updates are seamless and effective.
Updating content on your WordPress website using the Avada theme is an essential task to keep your site fresh, engaging, and relevant to your audience. Whether you’re posting the latest news, updating product information, or refreshing your blog posts, the Avada theme, known for its flexibility and user-friendly interface, makes these tasks straightforward. This guide will walk you through the step-by-step process of updating content on your WordPress site with Avada, ensuring your updates are seamless and effective.
Understanding the Avada Theme
Before diving into the content update process, it’s crucial to understand what makes Avada one of the most popular WordPress themes. Avada is a fully responsive multipurpose theme that offers a plethora of customization options through its Fusion Builder, a drag-and-drop page builder, and its Fusion Theme Options panel. These tools allow you to modify your site’s appearance and layout without needing to write any code.
Step-by-Step Guide to Updating Content
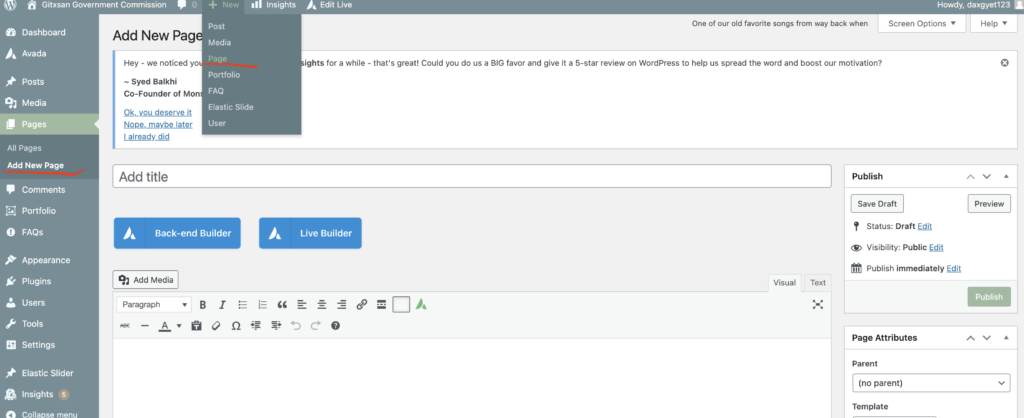
1. Accessing Your WordPress Dashboard
First, log in to your WordPress dashboard. This is where you manage all aspects of your WordPress site, including content updates. Navigate to yoursite.com/wp-admin and enter your credentials.
2. Using the Fusion Builder for Content Updates
- Navigating to Pages or Posts: From the dashboard, go to the Pages or Posts section, depending on where your content is located. Here, you’ll see a list of all your pages or posts.
- Selecting the Page/Post to Edit: Find the page or post you want to update and click the ‘Edit’ button. This will open the editor view.
- Editing with Fusion Builder: If Fusion Builder is not already activated, click the ‘Use Fusion Builder’ button to switch to the builder view. Fusion Builder provides a visual interface, allowing you to add, remove, or modify elements (containers, columns, elements) on your page.
3. Adding or Editing Content
- Text Content: Click on the text block you wish to edit. A text editing toolbar will appear, letting you directly type in your content or paste it from another source. You can also format the text, add links, or insert images.
- Images and Media: To add or change an image, click on the existing image or the ‘Add Element’ button to select ‘Image.’ You can then choose an image from the media library or upload a new one.
4. Previewing and Publishing Your Updates
Before making your changes live, use the ‘Preview’ button to see how they look on the actual site. Once satisfied, click the ‘Update’ button to publish your updated content.
Tips for Effective Content Updates
- Optimize for SEO: Use relevant keywords, meta descriptions, and tags to improve your content’s visibility on search engines.
- Engage Your Audience: Incorporate engaging visuals, calls-to-action (CTAs), and interactive elements to keep your audience interested.
- Regular Updates: Keep your content fresh and up-to-date to encourage return visits and boost your site’s SEO performance.
Updating content on your WordPress website using the Avada theme is a straightforward process that can significantly impact your site’s engagement and SEO. By following these steps and tips, you can ensure that your site remains dynamic, informative, and appealing to your audience.